Category: toddlers

Tiny - Cool Colored Rice: An all-ages project!! (Weekly Unplugged Project)

By Mom Unplugged, June 28, 2009 9:53 pm

Our Weekly Unplugged Project post for this week’s theme of tiny is coloring rice (a grain of rice is tiny, right?).

Not very original, but I was going to take this a step farther with a colored rice project. However this simple first step was such a HUGE hit with my kids of all ages and genders, that it deserves its own post.

I like color. There is not one white wall in my house. Therefore I have always wanted to try coloring rice. Is that a logical progression to you? It is to me.

Instructions for how to make colored rice are all over the internet, such as here and here. Google “coloring rice” or “colored rice” and you will see!

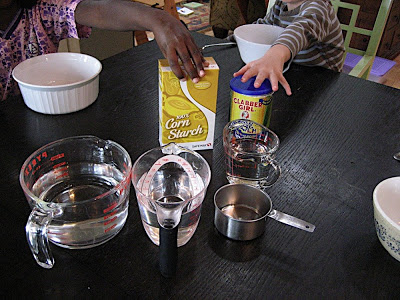
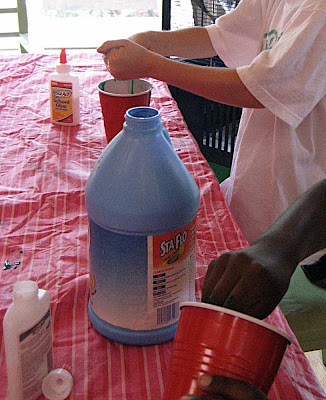
We needed a large bag of white rice. Don’t use brown rice or parboiled (which is sort of beige), since the colors will show up better if the rice is as white as possible.

I checked all the prices per ounce at our one local grocery store and found a 10 pound bag for about $8.00 (I am sure you could shop around and find a much better deal than that).

You’ll also need rubbing alcohol (maybe), food coloring, and plastic ziploc baggies.

I read somewhere that you can use vinegar instead of alcohol, or it can be done simply with food coloring alone, but the rice might not be as brightly colored.

We did a few batches without alcohol and they were fine, I honestly couldn’t tell the difference and the smell when damp was a lot better without it (the alcohol smell does disappear once the rice is fully dry). I would skip the alcohol next time.

Some people say that paste food coloring produces a brighter result, but I thought ours turned out great with liquid coloring.

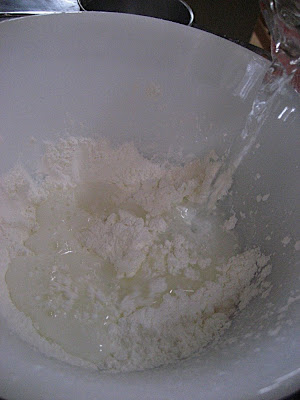
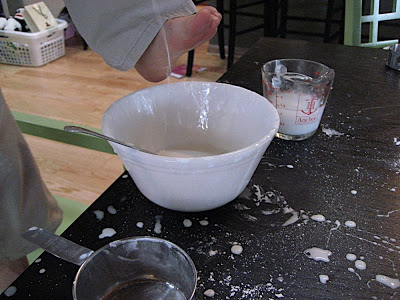
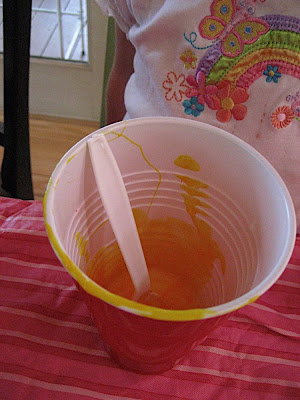
I passed out a baggie to each child and then scooped a few cups of rice into each baggie.

Next I added a bit of alcohol to each baggie (not much, a teaspoon maybe?).

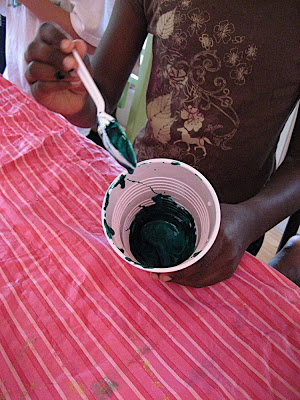
Each child chose a color to make and dropped in the appropriate color, or mixture of colors.

NOTE: This is a really fun project for learning how colors mix (if you are a kindergarten teacher or homeschooling parent, be sure to remember this one, because it would make a great kindergarten color project)!

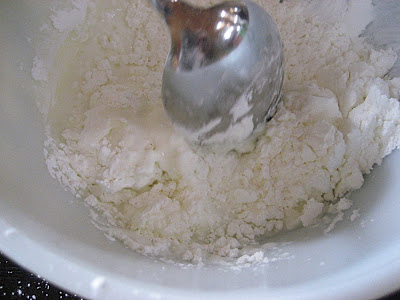
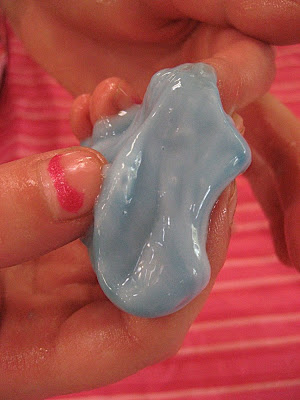
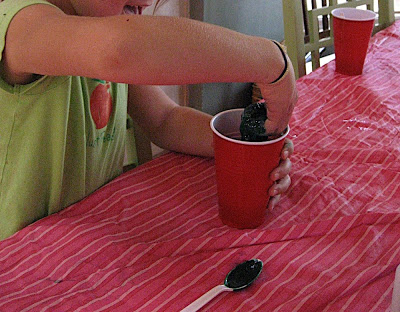
The really fun part is shaking and smooshing the baggie to spread the color.

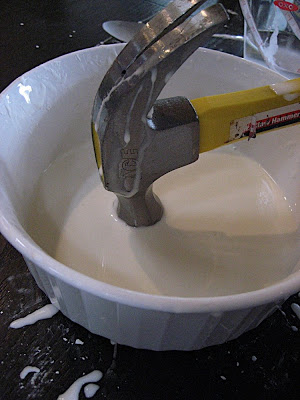
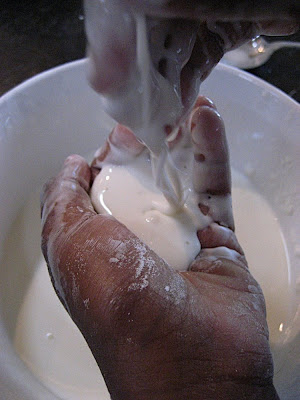
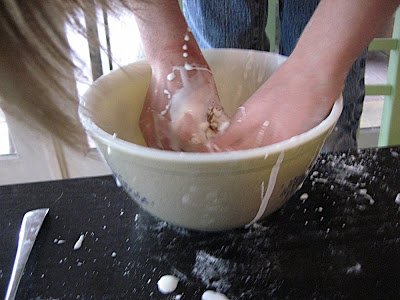
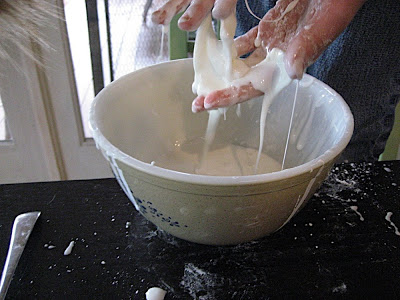
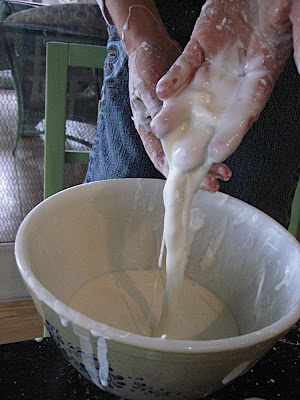
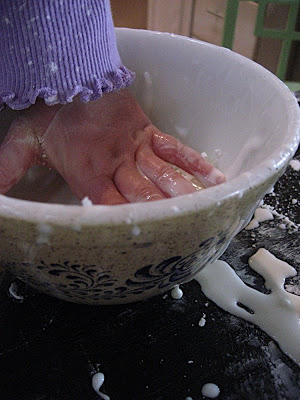
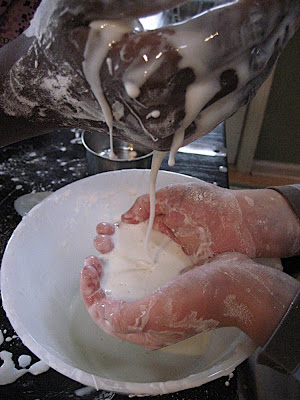
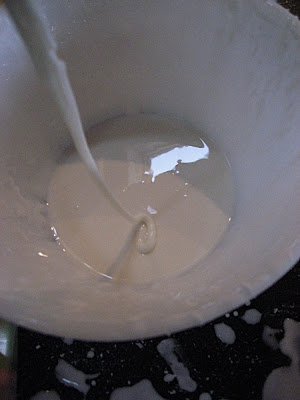
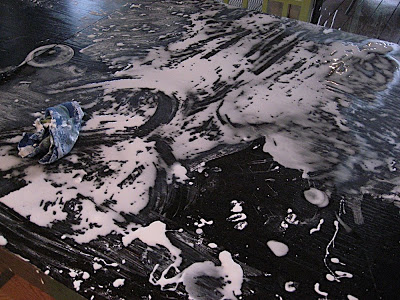
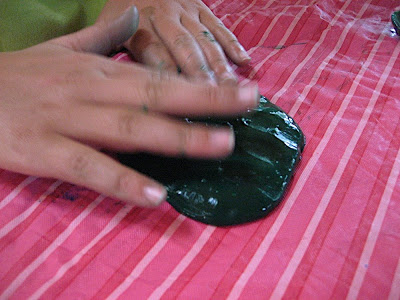
Just be sure the baggie is closed properly. We had a bit of an accident as you can see here:

(I found these instructions that call for a plastic margarine container for the mixing instead of plastic bags. This method might be safer, as long as you make sure the lid is on tightly.)

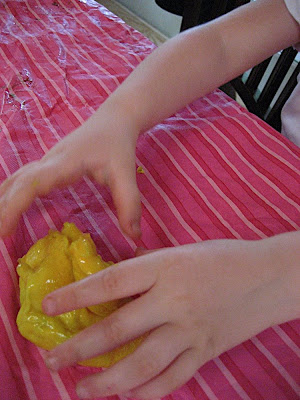
We discovered that the more you smoosh and shake, the more uniformly distributed and solid the color is. If you only do a bit of mixing, enough to just barely color everything, you get a very pretty variation of colors which I preferred:

Once you feel the rice is colored to your satisfaction, then spread it on a foil covered baking sheet and put it in a 200 degree oven until dry.

Stir about half way through the process to uncover the wetter rice from underneath. It took about 15 minutes for us, but if you put in a lot of liquid color and alcohol, it might take a bit longer. You can also let it air dry, but I am far too impatient for that.

The cooled, dry rice was irresistible to little hands. Even I had to touch it and sift it through my fingers. What a great, Montessori sensory material!

After the rice is dry and cool, use it right away or store it in a baggie or jar.

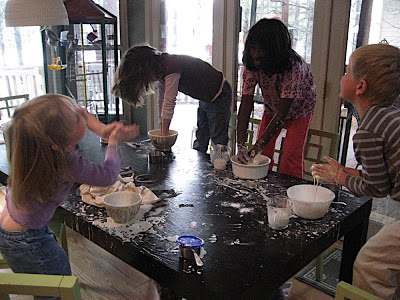
My kids and I all LOVED this project! We made lots and lots of colors. The children experimented with different color combinations and amounts of mixing.

One of my favorites was this one, where my 7 year-old son put many different colors in. I anticipated a big muddy brown mess, but he didn’t mix it up much and ended up with quite a variety of lovely earth tones in his batch, as you can see here:

Remarkable fact: The kids are 8 (girl), 7 (boy) and 3 (girl)…plus a guest: age 8 (boy), and me (girl)… age more than 8 and less than 100, and we ALL loved this project. It is hard to find a project that appeals to all ages, but this one was it for us.

As my oldest daughter said, “Our kitchen is a colored rice factory!!”

By the way, anticipate a good lesson in vacuum cleaner use after this project.

Also note the hopeful dog parked strategically under the kitchen table, just waiting for falling goodies:

+++++++++

Did you do a tiny Unplugged Project this week? If so, then please put your link (to your post, not just your blog) in the Linky below. If you didn’t do a tiny project this week but would like to learn how to join in future Unplugged Projects, then please do not link, but read more about how to join in here.

++++++++++

The theme for next week’s Unplugged Project will be:

Container

Enjoy and be creative!

Float - Toy Parachute (Weekly Unplugged Project)

By Mom Unplugged, February 8, 2009 8:44 pm

I guess I must have picked float as the theme for this week’s Unplugged Project because last week’s marbleizing project involved floating a piece of paper in a baking tray of water. Well, I won’t do that again, because all I could think of all week long were ideas very similar to our marbleizing project. I was completely without inspiration.

Then this boring, snowy Sunday, as the kids were playing Calico Critters, I suddenly had the inspiration to try making a Calico Critter parachute. Parachutes float (…hopefully…)!

We gathered together some scarves of different sizes and fabrics to experiment with, some items for the “cockpit” (a small basket and a little nylon pouch that originally contained some fiberfill stuffing - I am glad to be a packrat, I knew that pouch would come in handy one day!), yarn, scissors, and a couple of fearless test-pilots:

First we cut four pieces of yarn all the same length. Then we tied one piece of yarn onto each corner of the scarf:

Next we attached our basket and pouch. In an effort to take weight into consideration, we decided to put the pouch on the cotton bandanna because the bandanna was heavier than the play silk and the pouch was lighter than the basket.

We tied the strings onto the pouch by bunching up the fabric just as we had done with the scarf.

We tied the basket on with a string on each handle and a string on each side in the middle in order to keep it as well-balanced as possible:

NOTE: Be careful tying the strings onto your “cockpit.” You want to keep them in order so that aren’t twisted and it can get a bit confusing, especially if your cloth is big and your strings long.

Also, you could simply tie your object directly on to the strings without having a container. I think it is more fun with a basket or a pouch though, that makes it much easier for children to experiment with different objects and toys.

The cats found this project to be particularly appealing. Strings plus soft things to lie on meant 5-star kitty excitement:

In popped the intrepid test-pilots, and off we went to the upstairs landing for launch.

Make sure you hold the parachute by pinching it in the center and dangling it all over the edge of the railing before dropping. Also, for best performance, the strings should not be twisted or tangled.

The bandanna went first - success!

Next was the playsilk. It didn’t crash, but it went down pretty fast. I thought that it might be because of the air flowing through the holes in the basket.

We lined the basket with a paper napkin and the second launch was perfect! The parachute floated gracefully down to the ground.

I am pleased to report that no Calico Critters were injured in the testing of the parachutes.

If you are curious, here’s a 5 second video of our silk parachute:

Link: How does a parachute work?

++++++++++

If you did a float Unplugged Project this week, please put your link in Mr. Linky below (link to your post, not just your blog please so your post will always be easy to find). It’s also wise to leave a comment so if Mr. Linky ever disappears, you won’t disappear with it! If you did not join in, then please do not link, but read more about how to join in here.

I am trying to visit at least a few projects every week, but I can’t always get to everyone anymore. I feel a bit bad about that, but blogging is not a full-time occupation for me, so I guess I can only do my best. I hope you all understand!

++++++++++

The theme for next week’s Unplugged Project, will be:

Wrinkle

Have fun!

++++++++++

Kitchen - Non-Newtonian Fluid; aka “Oobleck!! - (Weekly Unplugged Project)

By Mom Unplugged, November 10, 2008 10:00 pm

Today, along with a visiting friend, we finally got to do this week’s kitchen Unplugged Project. We used cornstarch, a common kitchen ingredient, to create a non-Newtonian fluid. The other name for such a mixture is Oobleck, from the Dr. Seuss book, Bartholomew and the Oobleck.

It was SO COOL!! The kids and I found it fascinating! I was so enthralled that I felt that the mess (and there WAS mess), was actually very worthwhile.

I set out four small mixing bowls and spoons, one for each child. I also set out water, cornstarch, and measuring cups.

The kids each put about one cup of cornstarch into their bowl.

I had them add water just a bit at a time,

and stir until we got the “right” consistency.

It was probably close to about a half to two thirds of a cup of water, but the “right” consistency was quite obvious. When the mixture starts to feel hard to stir although it looks like liquid on the top, then it is probably about ready.

Test it by dipping your hand in, lifting out some fluid, and squeezing it into a ball. It should feel like a hard, dry ball in your hand but when you open your fingers, it will turn back into a liquid and run back into the bowl.

Here is a fleeting picture of it as a solid:

Adjust your mixture by adding a bit of water if too dry, or a bit of cornstarch if too wet. You’ll know you have it right when the oohs and aahs begin!

This was so much fun to play with and was a very weird sensation that is quite hard to describe. The children (including my 2 year-old) and I played for maybe an hour: squeezing, stirring, punching, and even hammering!

My favorite trick: If you roll it between your two palms as if you are making a ball with clay, it makes a nice solid ball, but as soon as you release the pressure, it all runs away!

Also, put a finger gently into it and it will slowly and strangely be sucked under as if in quicksand. Jab the finger in quickly, and it will hit a hard surface.

The Science:

As I understand it, when you squeeze the mixture, or compress it quickly in some way (hammer, punching, etc.), the molecules compress and become a solid. When the pressure is released, the molecules spread out again and the mixture becomes a liquid. As my oldest daughter said: “Oooo! I can feel it changing from a solid to a liquid!”

Here are two good explanations of what a non-Newtonian fluid is:

“Oobleck is often referred to as a ‘non-Newtonian’ substance because it does not behave as Newton’s Third Law of Motion states; for every action, there is an equal and opposite reaction. Applying this principle, you would expect Oobleck to ‘splash’ when you ‘smack’ it with your hand. (Smacking is the action, splashing is the reaction.) However, when you try this out Oobleck does not splash, in fact, it becomes a solid substance for a few moments.”

(from Oobleck - a Non-Newtonian Fluid)

or

“Isaac Newton defined normal liquids as having consistent flow behavior affected only by temperature or pressure; so fluids that change their resistance to flow (viscosity) under stress are not ‘normal’. Some of these fluids get runnier when stress is applied, like paint, toothpaste and slug mucus. Some get thicker, like quicksand and Oobleck.”

(from Science in the City - Bullet Proof Goo)

As to why it behaves this way, it seems that this is actually a matter of some controversy, but here are some links that are more knowledgeable than I:

Oobleck - a Non-Newtonian Fluid

More About Liquids: Thick and Thin

Fun:

You can actually walk on this stuff! My son wanted to try it after seeing this You Tube video.

(There are a few other walking on cornstarch videos out there if you are really into this!)

Tips:

1) I STRONGLY recommend that you either do this outside in an area that you can just hose off afterwards, or use a vinyl tablecloth that you can remove and hose off afterwards. Why didn’t I use mine?

2) Be sure to add the water a bit at a time, it is easy to overdo it.

3) If you do forget the tablecloth like I did, you will find that non-Newtonian fluids can be difficult to clean off a table. When you try wiping what looks like liquid, it turns into a solid and sticks.

When you stop scrubbing it returns to a liquid state! After a bit of frustration I used my science brain and poured water on the table. I was able to wipe the now runny cornstarch liquid into a trash can.

++++++++

Although I suggested it humorously yesterday, I have actually had several votes for an Unplugged Project theme next week involving “sort, trash, junk, donate.” Well, why not??

As Captain Jean-Luc Picard would have said (see, I haven’t always been without a TV!): “Make it so.”

Let’s call next week’s theme:

Sort-Junk-Donate

Remember, the theme can be loosely interpreted if you don’t feel like cleaning your house this week. Just be creative and have fun!

Smooth - Goop!!! (Weekly Unplugged Project)

By Mom Unplugged, October 13, 2008 2:30 am

This week’s Unplugged Project theme was smooth, and I confess that the choice was premeditated. We are away this weekend for fall break, so I knew a project would be hard to fit in. Instead I chose to write about one that we did in August when we were doing a babysitting coop with some friends.

This particular day about 10 kids were at the house. A friend who was moving brought over some liquid laundry starch that she couldn’t pack (the movers wouldn’t take it).

At her suggestion, we combined it with some white glue and made this wonderful, smooth, shiny, slimy, icky, bizarre goop!

All you need is liquid starch and white (Elmer’s type) glue. Mix glue and starch in a cup or bowl (disposable is best…sorry environment!) in about a 2-1 proportion (in other words: 1/2 cup glue to 1/4 cup starch, vary amounts proportionally as necessary to get the amount you need). Don’t worry too much about accuracy, I just eyeballed it and it was fine. You can add food coloring as we did, or keep it “natural:”

We started mixing in a civilized manner with spoons:

But the children quickly abandoned the spoons for the pleasure of feeling this stuff with their hands:

I wish you could see the expressions on the children’s faces as they mixed and ultimately experimented with the finished goop! Even I found the strange texture fascinating!

They all had a blast, and are still talking about it.

My 2 year-old especially loved this. She sat at the table all alone with her goop for about a half an hour after the other kids had run off to play on the swing set. The sensorial experience for her was totally absorbing:

TIPS:

  • The goop is pretty sticky (yet smooth!) in an almost dough-like way once it is mixed. We found that running the finished ball of goop under the tap helped alleviate some of the initial stickyness. It will be very wet and runny at first, but once it dries out you’ll have a nice workable ball.
  • Try to keep goop away from carpets, clothes etc. Although it doesn’t really stick to skin, tables, counters, etc., it sticks if left to rest on any fabric surface. It does wash out of clothes well though, as I found out with my 2 year-old’s shirt (after all, it is only washable glue and laundry starch), but carpets would be more of a problem.
  • We kept ours in baggies and containers for a few days until I started finding it left out around the house. Then I got sick of it and the baggies began gradually “disappearing.”

EDITED TO ADD: Thanks so much to science teacher Stephanie who left a comment on this post with her alternate recipe that avoids the stickiness:

…make a solution of 50% water and 50% glue in one container and in another take one cup of water and 1 tablespoon of Borax (found in the laundry aisle). Then mix in equal parts of each solution (1/2 cup borax + 1/2 cup glue/water). If you make it in a plastic baggie the stickiness at the beginning in contained. Too sticky add a little more borax.

Thanks Stephanie! Next time we’ll try your version!

AND YET ANOTHER ADDITION: Marta left a comment with some useful information about a fun trick with this, and a cleanup tip:

Just a clean-up note, in regards to Stephanie’s post. Our daycare kids call this mixture flubber. They like to lay it flat on the table and put a straw under one edge. Inflate! Makes great big bubbles. Vinegar seems to work well to get this mess out of clothes, hair, carpets etc…

Thanks very much for the tips Marta. Very useful information!

++++++

If you joined us for this week’s smooth Unplugged Project, then please post a link to your project in Mr. Linky. If you did not do a smooth project, then please do not link, but feel free to browse everyone else’s projects. To find out more about how to participate, please read more here. We’d love to have you!

++++++

I feel like I should make a list of all the themes we have done so far since I am beginning to forget. The wonderful thing about the Unplugged Project is that one theme can generate so many different ideas, so I guess it doesn’t really matter if we repeat.

Next week’s Unplugged Project theme (and I don’t think that we have done it yet) is:

Wax

Have fun with it, and remember any connection to the theme, no matter how slim (the slimmer the better in my mind), “counts!”

++++++

Hard - Permanent Sand Sculptures (Weekly Unplugged Project)

By Mom Unplugged, September 21, 2008 8:57 pm

Last week for our sand Unplugged Project, I had an idea for making permanent sand castles which I had seen as a proofreading exercise in my daughter’s spelling workbook! (Spelling Workout, Level D, Modern Curriculum Press, p. 12)

Hey, you never know where you might find inspiration, right? My kids vetoed me last week for this particular sand project, and chose to do something else instead, but I figured we’d get to try it for this week’s theme of hard. Plus, since it was recently my sister’s birthday and she loves Hawaii, we made sand sculptures for her.

We followed the instructions in the spelling book. We needed sand, cornstarch, and water. The recipe called for 2 cups sand, and 1 cup each of cornstarch and water. We doubled it.

Sand was easy. We went out to our big sand pile and scooped up 4 cups of sand and put it in a big cooking pot. We then poured in 2 cups of cornstarch:

And 2 cups of water:

And stirred over low heat.

We stirred for a while. It was very runny, but looked yummy, like melted chocolate ice cream.

After about 10 minutes we got bored and left it alone for another 5 minutes or so. When we rechecked it, it had transformed into a solid, stiff lump! I had to trade in my plastic spoon for a sturdy metal one or it would have snapped in two! It was so stiff that in this photo, the spoon is standing up on its own:

I had prepared the kitchen table with our craft tablecloth as well as a plastic garbage bag for easier clean-up. We dumped the mixture out on the garbage bag to cool.

It cooled quickly and soon we were all playing with the warm, squishy, sand playdough. It felt really nice.

Eventually, it started to dry and get a bit crumbly so I put out a bowl of water to sprinkle on it. A spray bottle of water turned out to be even better, and more entertaining.

We shaped it and poked it with sharp pencils, toothpicks, even a funnel.

Afterwards we put our creations on plates to dry. Here are the results:

The next day, we unfortunately discovered that my 2 year-old’s hand print and the starfish were breaking apart. The two sand castles however, were fine. I would recommend this project only for larger, 3-D sculptures, but the thinner, flat ones were disappointing. But…in case you were wondering, the pot cleaned up fine!

PS: In reviewing last week’s projects, I saw that Meg had made something similar as part of her sand project, but used sand and glue instead of cornstarch. She used molds to make starfish and they turned out really well! Consider experimenting with molds for extra fun if you try this. Karen B. also made “sand clay” similar to our recipe and added salt to hers to slow spoiling.

++++++++

Did you join in this week’s Unplugged Project themed hard? If so, then please add a link to your project in Mr. Linky below. If you didn’t join us this week, then feel free to browse the links below and read about how to join in for next week!

++++++++

Next week’s Unplugged Project theme will be:

Fruit

Enjoy!

Blog Widget by LinkWithin

Help Pakistan

Panorama Theme by Themocracy